The Creative Kid
Work by Dallas Hartman
Plaster Sculpture
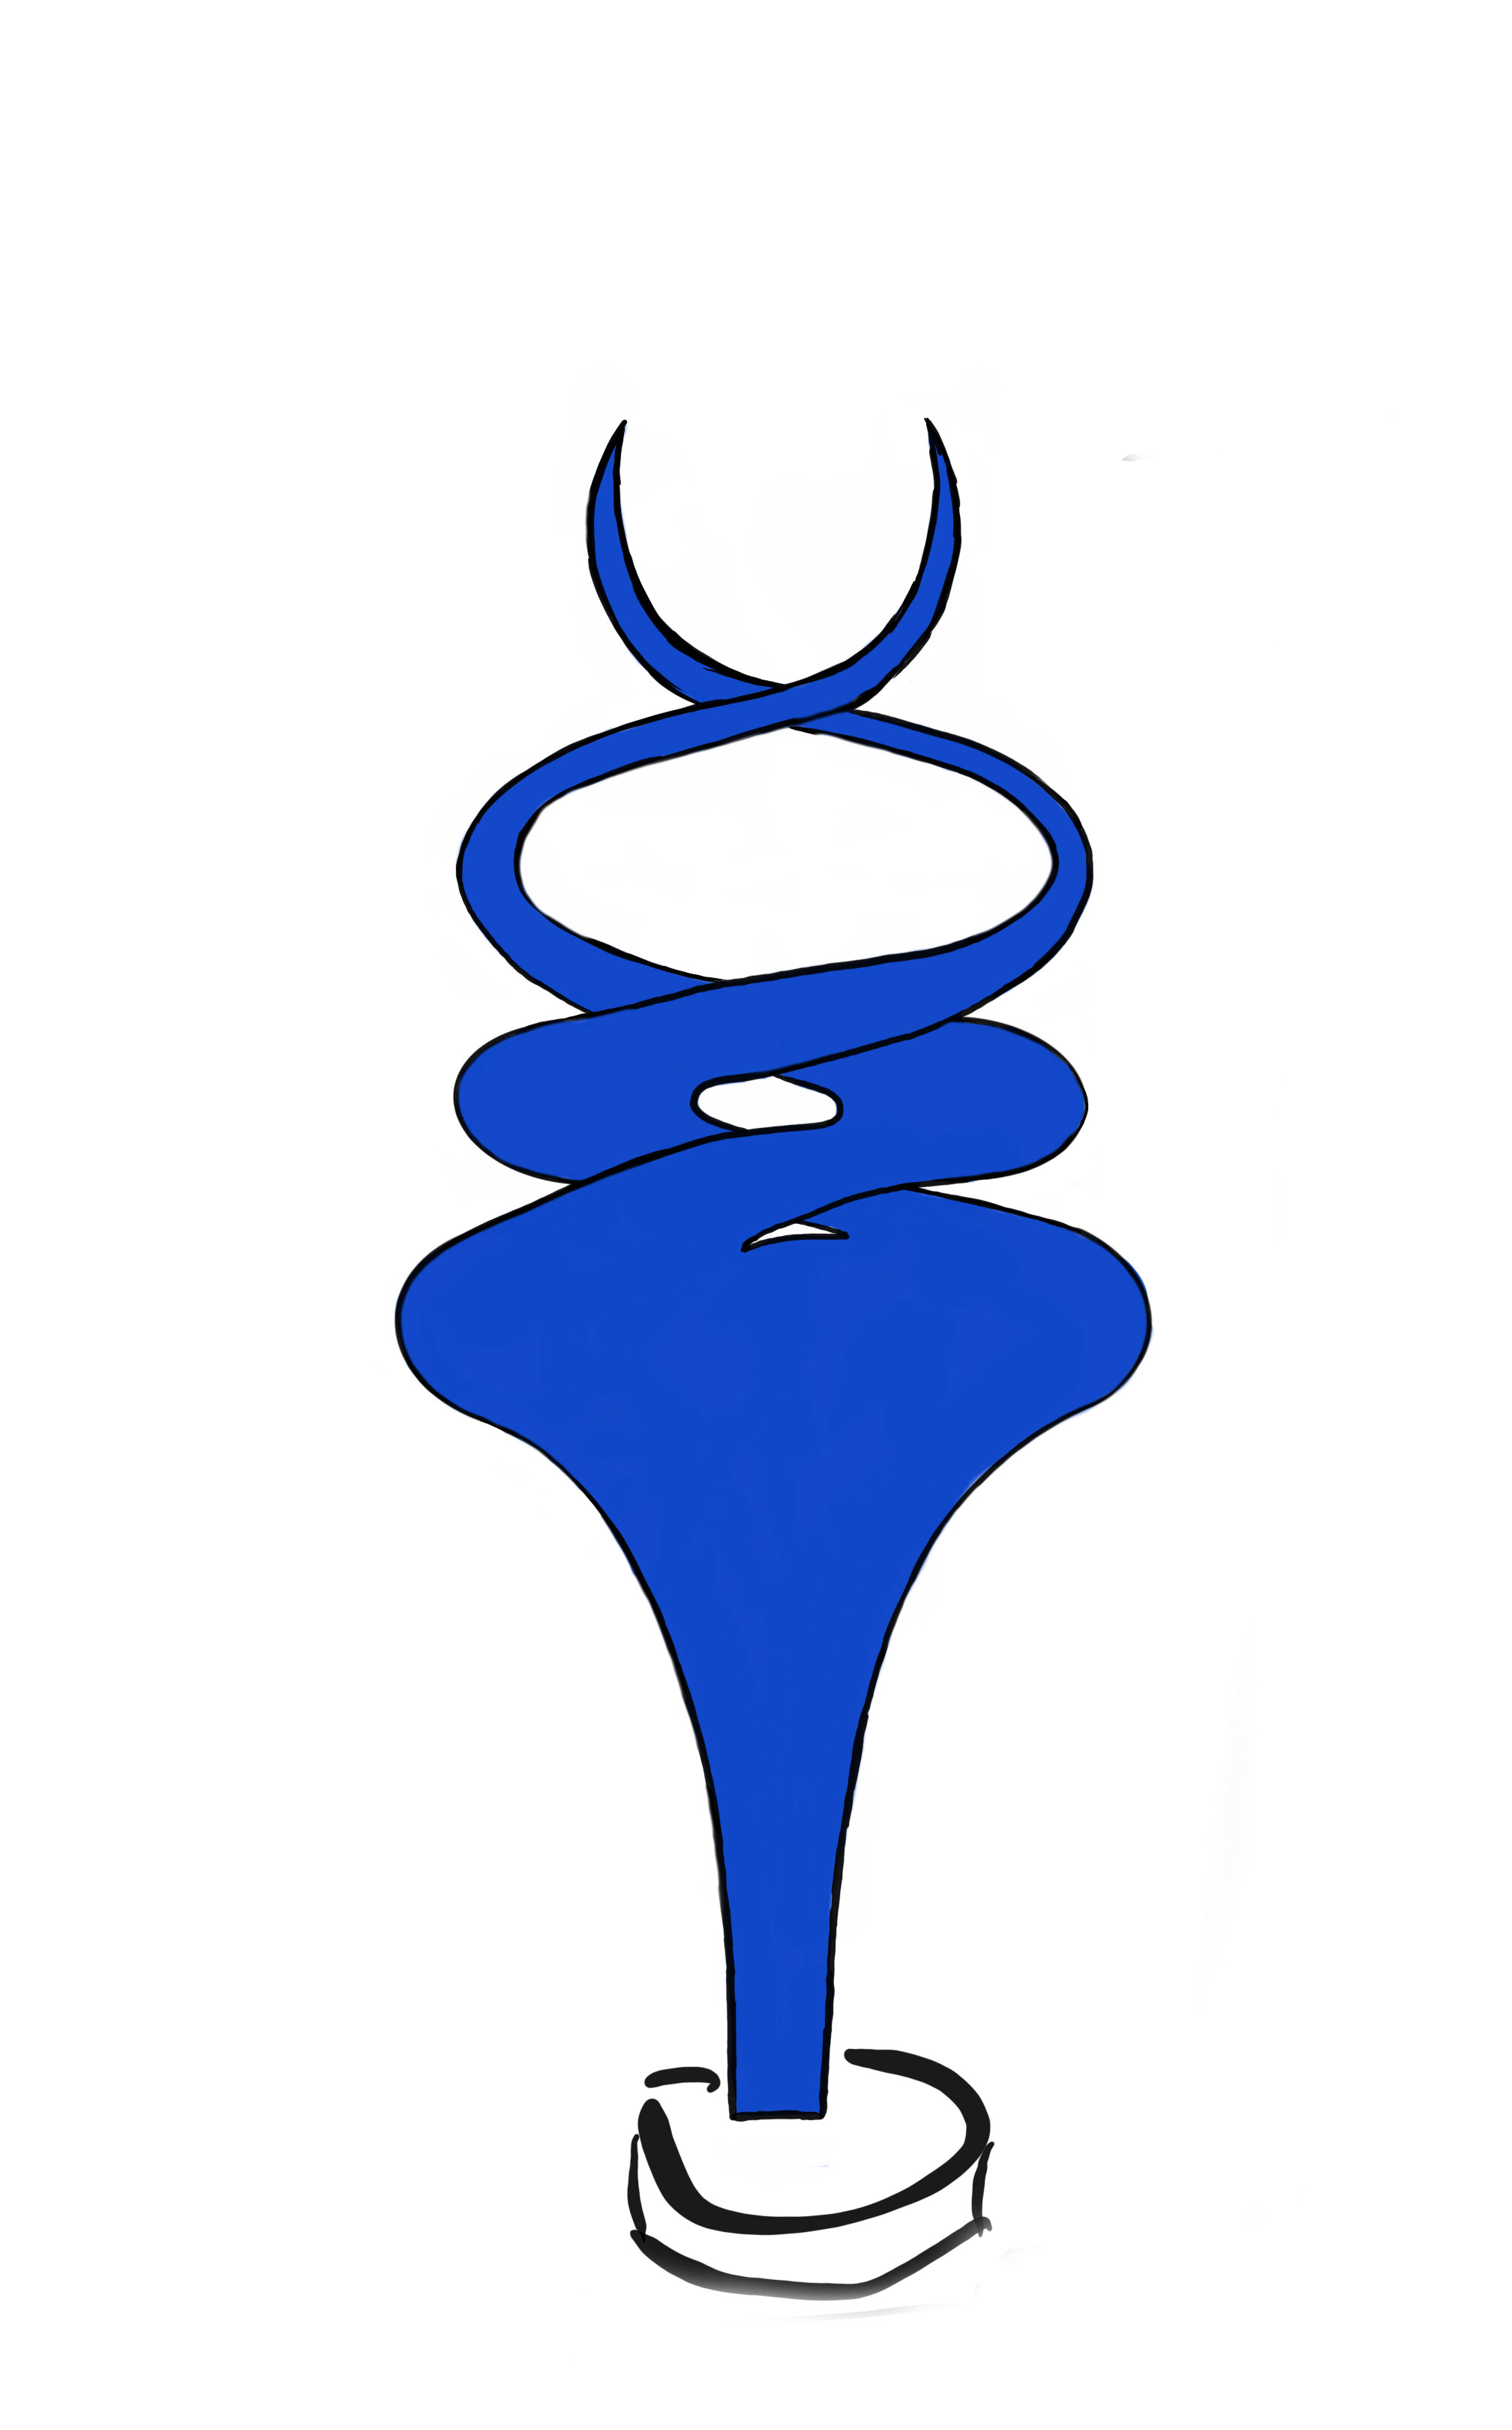
Concept
Refinement
Clay Maquette
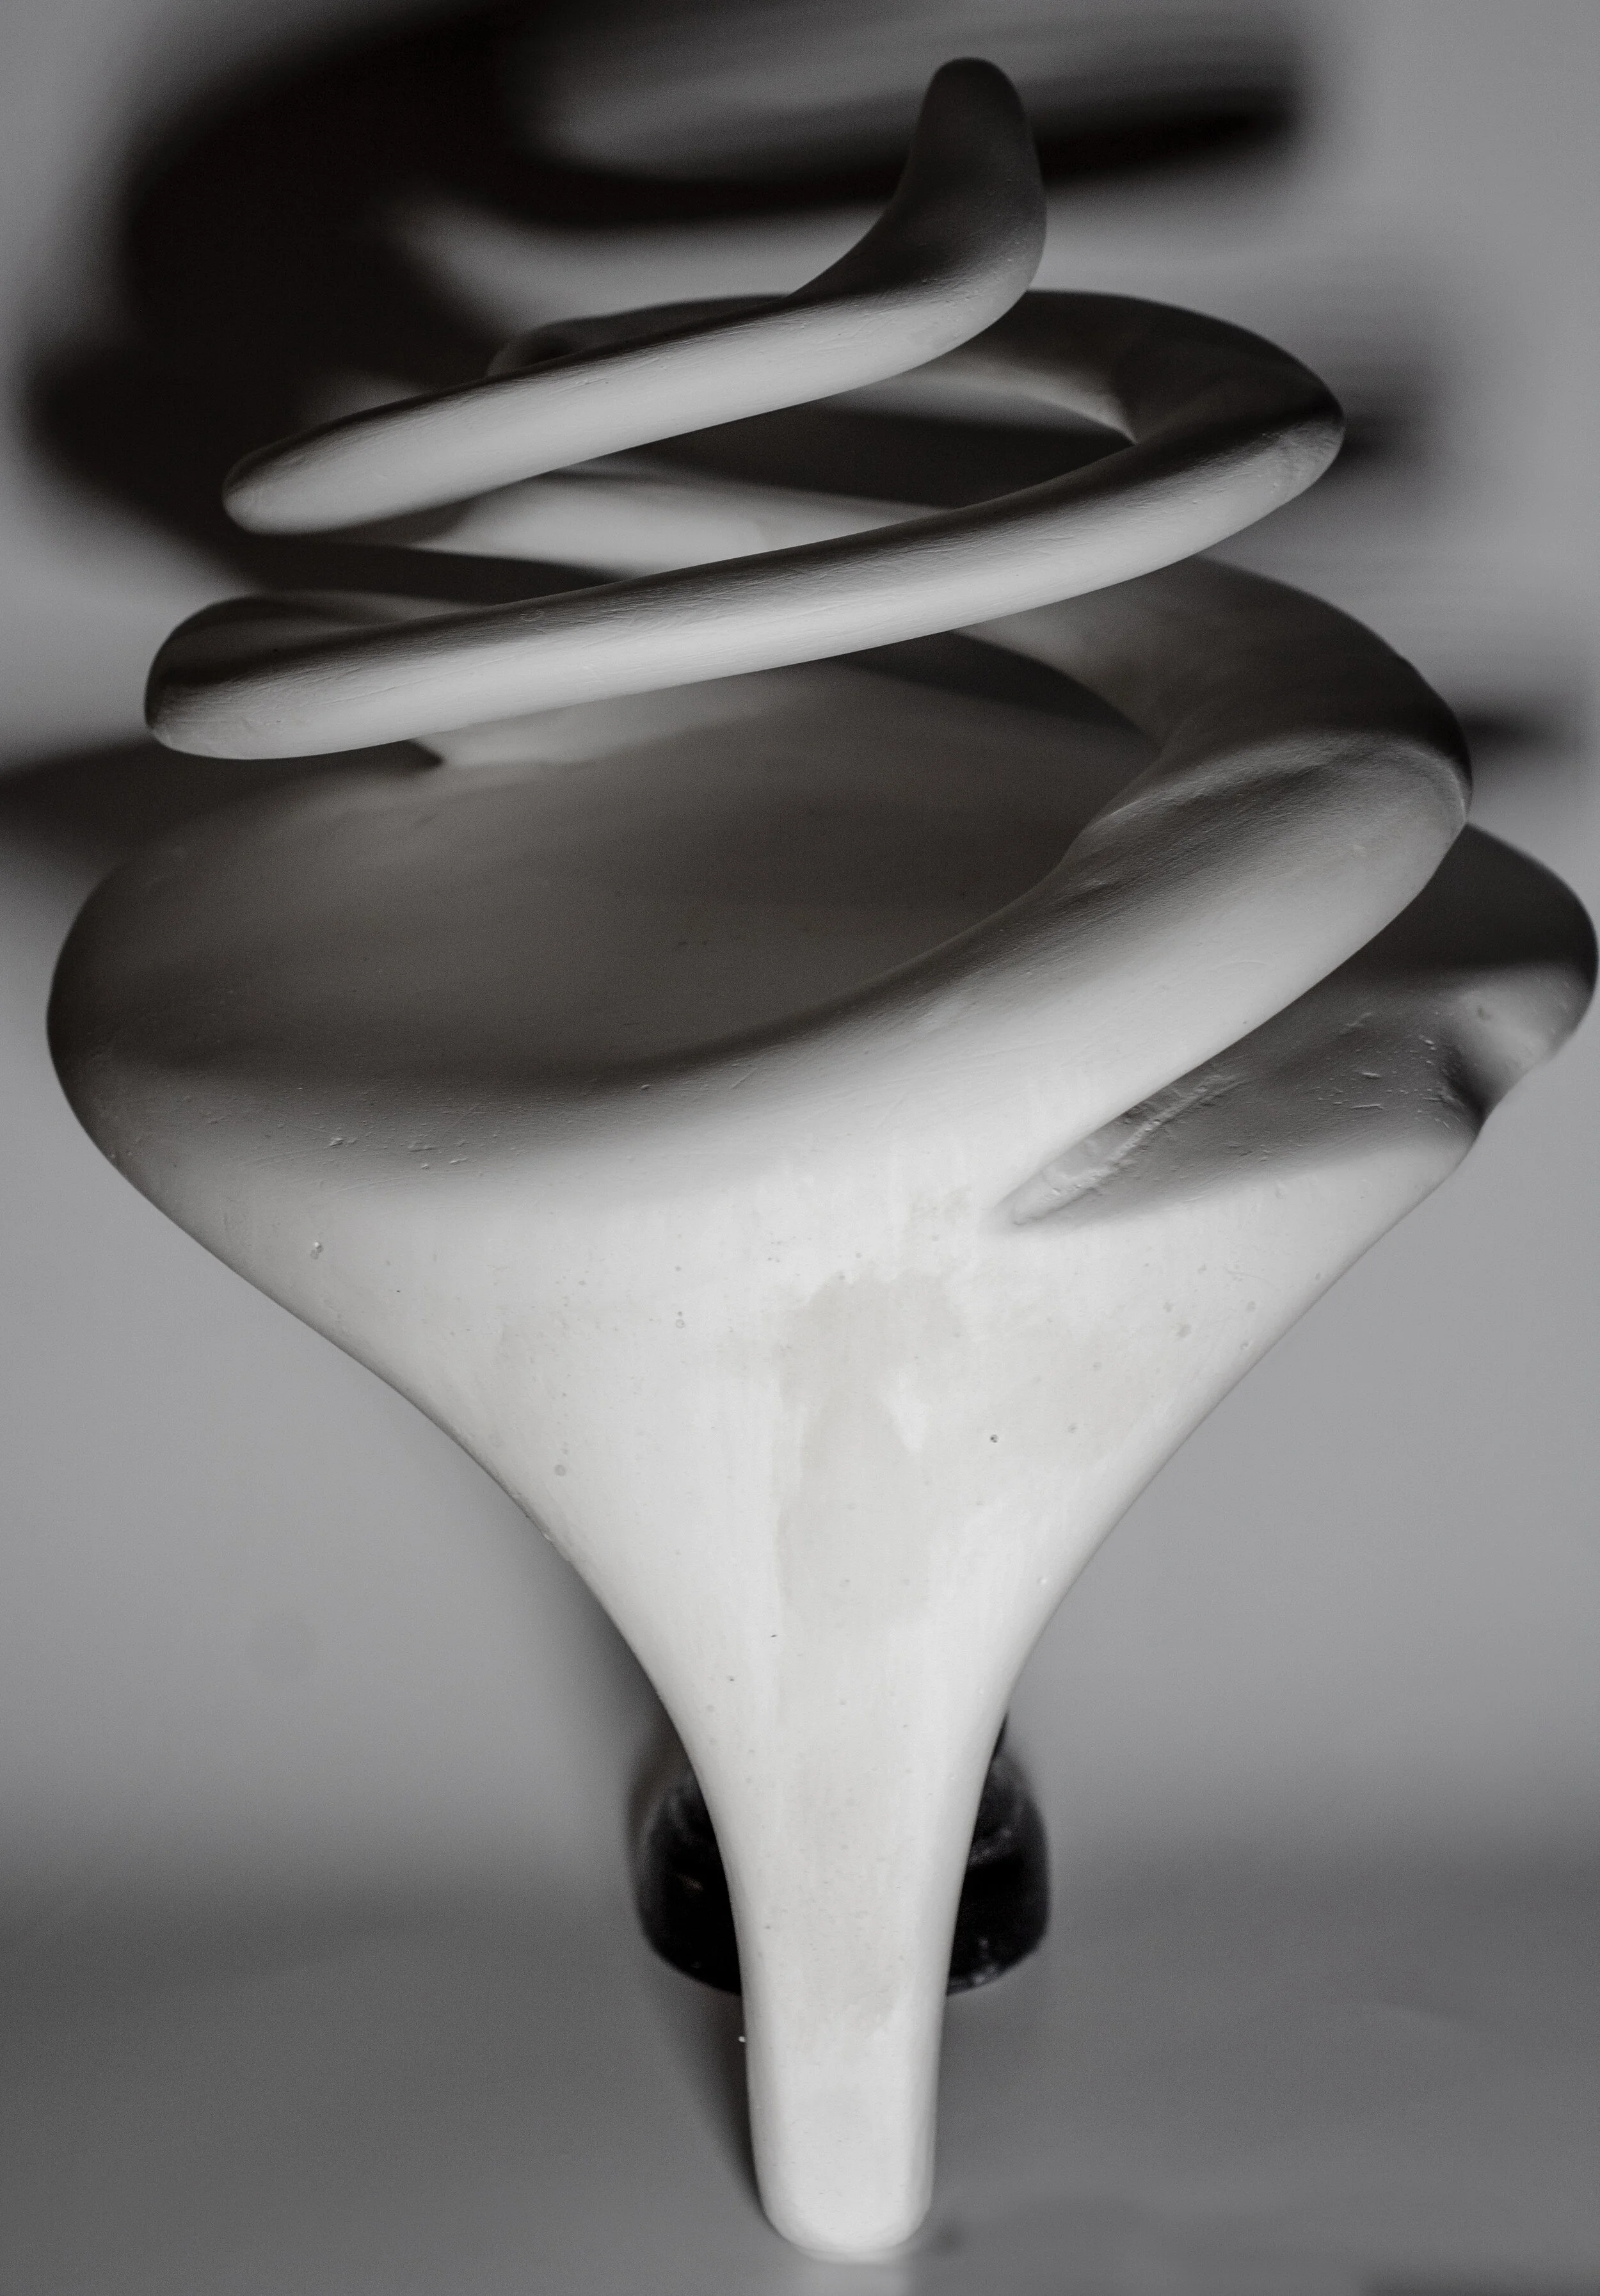
Final Product
The Process
My goal was to create an organic sculpture that resembled something out of a Dr. Seuss book, but after weeks of blood, breaks, and patience I made a piece that I’m pretty happy with. I started with a bucket and filled it with plaster mix and water. I let it sit for a few days, drove to school, picked it up, and then started the adventure of trying to figure this project out. This is roughly how it went.
Setup
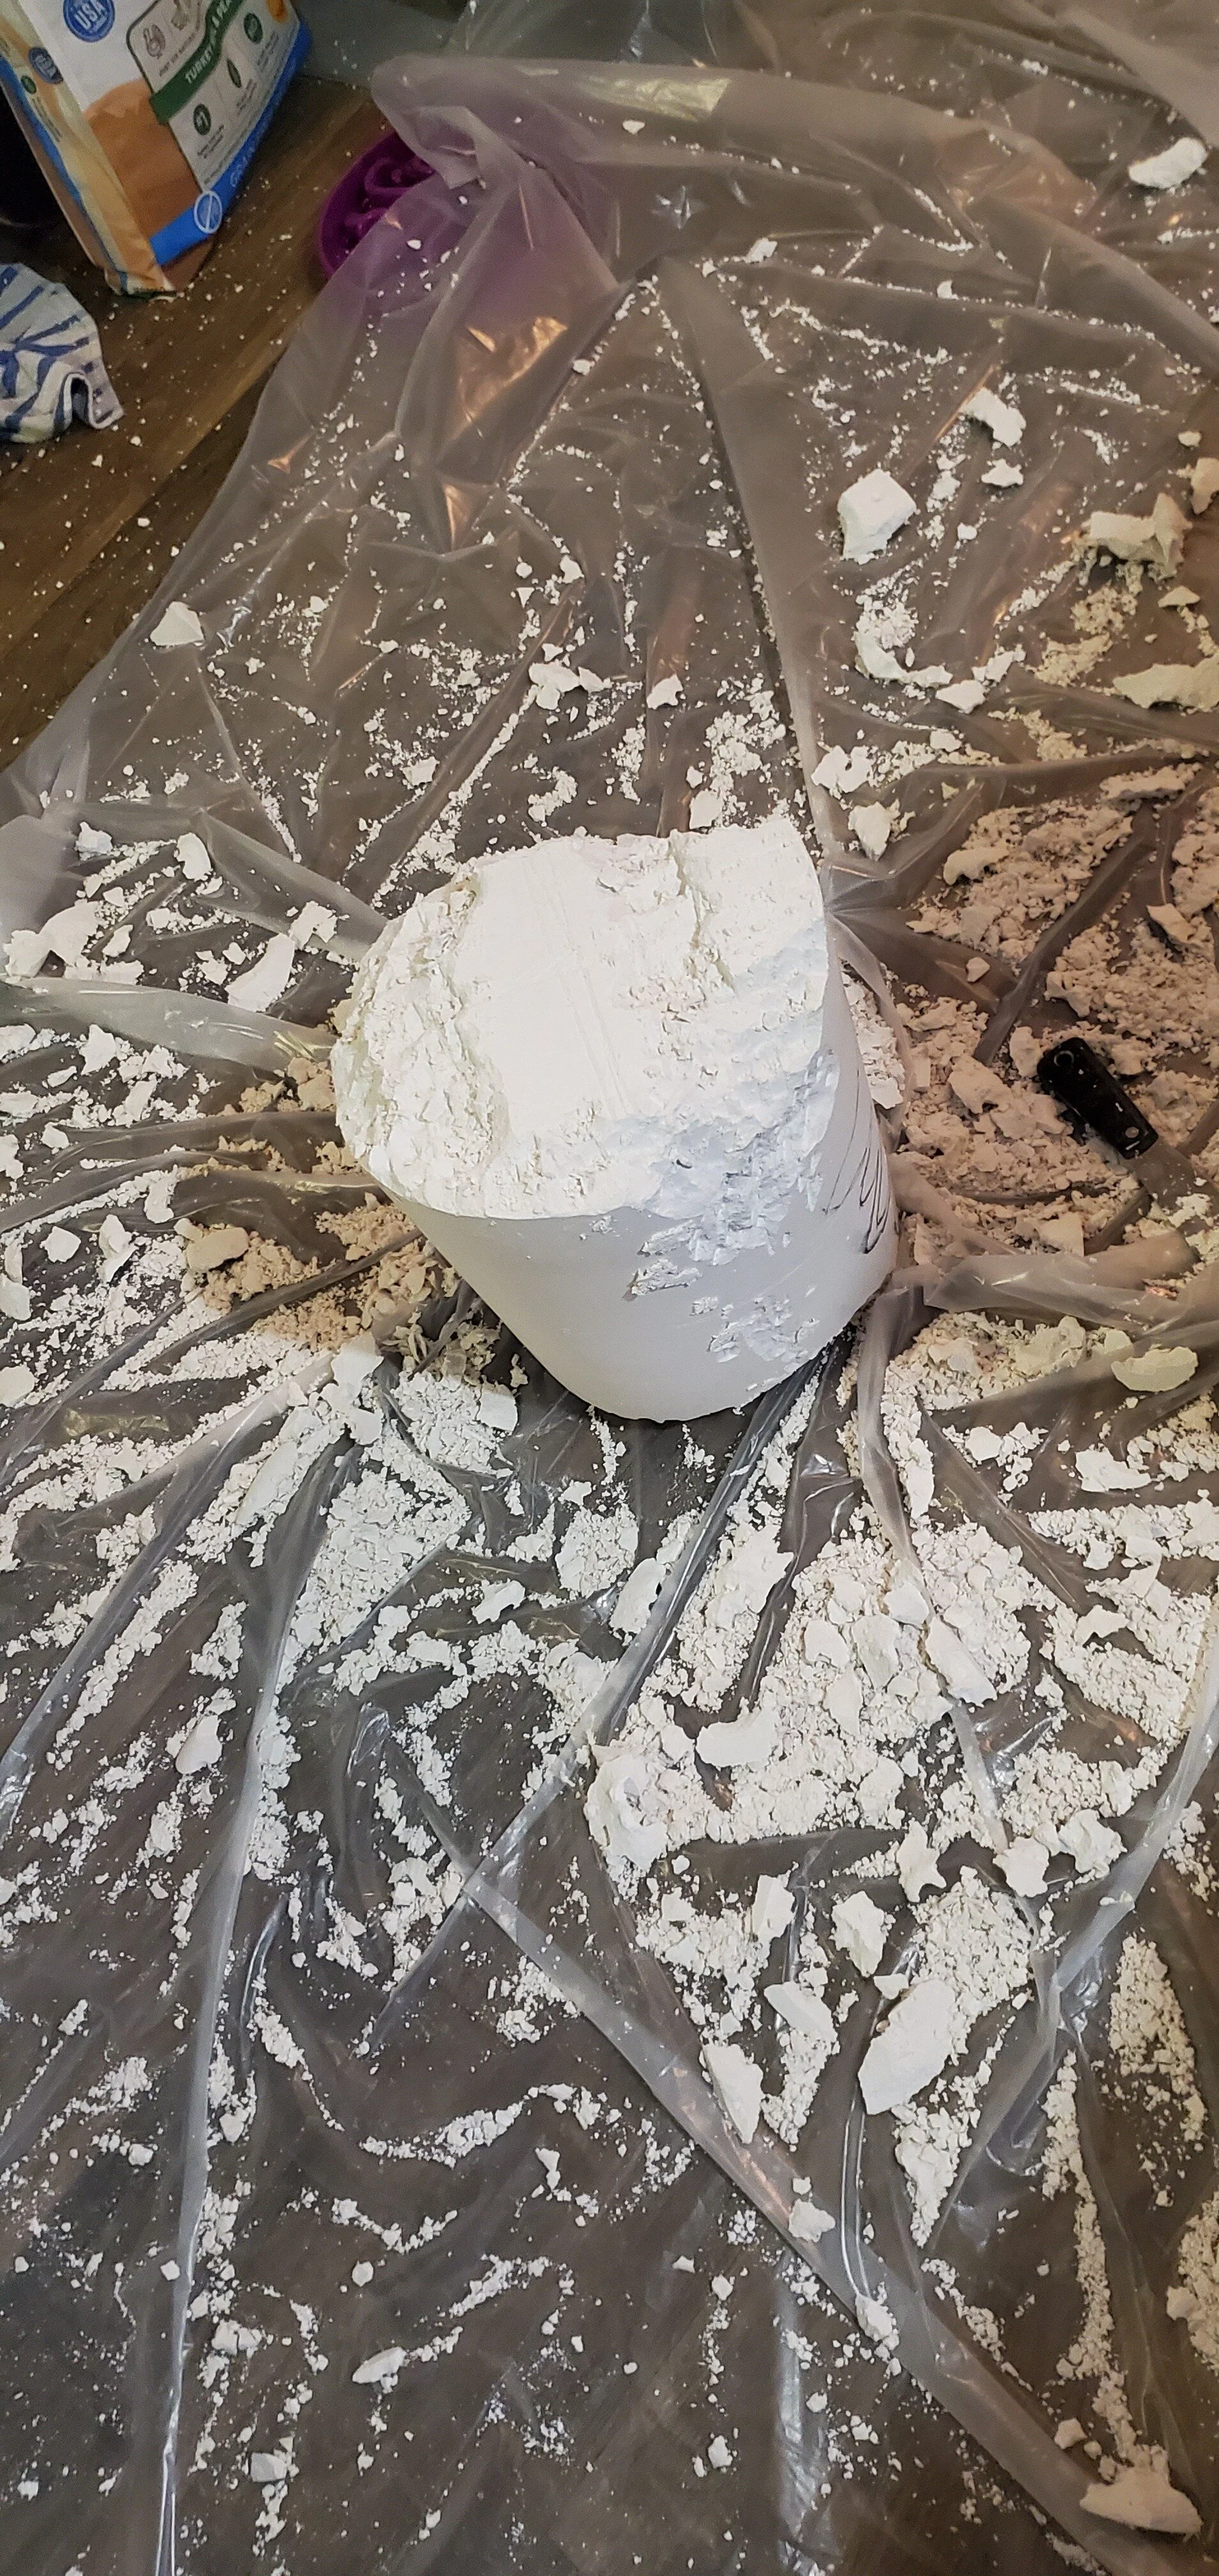
I setup shop with my watch on my drink so I could time the process and not plaster my watch. I had to throw low amounts of the mixture in a circular motion and then mixed it by hand until I had worked out all the air bubbles and clumps, then I put it aside to harden. The third picture is my initial attempt at carving into the block, I thought the tools I had already might be useful, I was fairly wrong, but it was still a good starting point.
Initial Attempt
I spent way to much time during these three pictures, using the wrong tools, and coating my apartment in plaster chunks.
A New Direction
Armed with proper tools and an enclosed space to destroy, I started the destruction with a new strategy to bring this piece to life.
Wrong Direction
I was keeping the top part as a guide for the center stem, that was in the original design. We’ll call this the first break of the sculpture. I was still learning how to use the new tools properly and overestimated the strength of the plaster resulting in another direction, this one had a more interesting base in my head so I ended the night defeated, but armed for the next day.
Finding the Form
I spent a few hours a day, for a week, carving until I started to see the final shape start to form. I was able to keep it safe by storing it back in its original bucket with the help of a towel.
Calm Before the Storm
I found the form and took off. Once I saw the shape I was ready to spend all my hours refining and cleaning up edges, a wise teacher would later advise me that I should’ve taken a few breaks in order for the inner plaster to dry and strengthen. It’s too bad that this took place later because I did most of this in one day and got too excited.
The Storm
So the structure became way to weak to support it self, due to my excessive sanding, carving, and the inner form still not being completely solid. I ended the night very defeated, we’ll call this breaks 2 through 7, 6 physical, 1 mental. I decided a frantic late night call to my professor would be kinda rude, so I went to bed and decided to send a rational text in the morning asking for any advise and that brings us to, yet another, new direction.
A New Structure
My professor and his wife gave me fantastic advise on how to recombine the pieces that had broken off. I had to sand each individual piece down to its final form so when I connected them I didn’t put too much pressure on the joints since they’ll be super fragile. I carefully sanded down each piece, careful not to do it too much, and I took plenty of days in-between each step. I carefully drilled hole specifically one side at a time so I could line up each hole correctly. I glued the wooden rods in each piece with gorilla glue and set them up so the wooden rods would set at the correct angle. I left a day for drying in-between each piece, I then lined up the rods to the other pieces and drilled holes at the correct angle and continued the process. I ended up with the dilemma that I couldn’t glue them to the bottom properly unless it could stand straight up, so I started crafting the base.
The Base
I spent a good hour strolling around the store for any parts that resembled the base I had in mind. I found a fence post and a screw that I vastly over estimated the size of. I cut the top of the fence post off and removed the double sided screw. I then drilled a bigger hole for my new addition, and then I had to drill more, and then I put the screw in, hit it with a hammer until it was almost flush, and put a little gorilla glue around the bottom. I painted it black and threw a clear coat on it to protect it from the plaster. I tried inserting the base into the piece and found it was way to long, so I cut it. After a half hour of sawing on this screw I finally reattached it and learned that I needed to cut it again. This time took longer because my saw was almost a butter knife at that point, but I got the right length and filled the inside with gorilla glue and set it up to dry for a night.
The Two Day Bathroom Takeover
As the title suggests I gave a day for each side to glue and set, careful to adjust the angle with old t-shirts. I had half of the bathroom covered in plaster, tarp, and fragile pieces (I have to thank my fiancé for not killing me for how much plaster I spread through our apartment).
Plaster Patience
This process took another week of applying a filler plaster, smoothing it out, letting it dry, then very gently sanding. I got a few coats on each day and was slowly filling all the holes and creases. I had to do three things I am horrible at, slow down, have patience, and being gentle. I somehow used all of my will power to bring those abilities together long enough to add a few layers each day.
Final Product
It has flaws, and is not quite the original design, but I am very pleased that this sculpture came to be something. It has a lot of character in it, a lot of time in it, and I feel genuinely proud of myself that I finished this. I was going for a rounded, bubbly, unique sculpture and I found it, I’ll probably continue the soft plaster and sanding process to get it to the point that I want it at, but for now it’s pretty wicked.
Final Notes
This was one of my injury’s found through this process, I grinded some skin off while cleaning one of my tools. I had other stabs and assorted blisters, but I figured one gross picture was enough. I also have to throw a huge shout out to my fiancé who lets me cover our apartment in art projects and never complains, she’s the real MVP of this project.


