The Creative Kid
Work by Dallas Hartman
Pewter Casting

The Process
The goal of this project was to create a sculpture, make a mold of the sculpture, and melt metal down into that mold to create a final metal piece.


Prepping The Mold
I had to go to my Dad’s house and use his chop saw to make this little box to hold my snowman and then I realized I had to pack the box with clay. So in order to mix my clay sculpture with clay in the box I gently wrapped him in plastic wrap and trimmed the edges.


First Half
I quickly discovered that I wasn’t going to have enough mold making liquid to do this properly, so I split the mix in half and decided I was going to do the best I could and the first half turned out ok, it just had some thin spots which I delt with later.

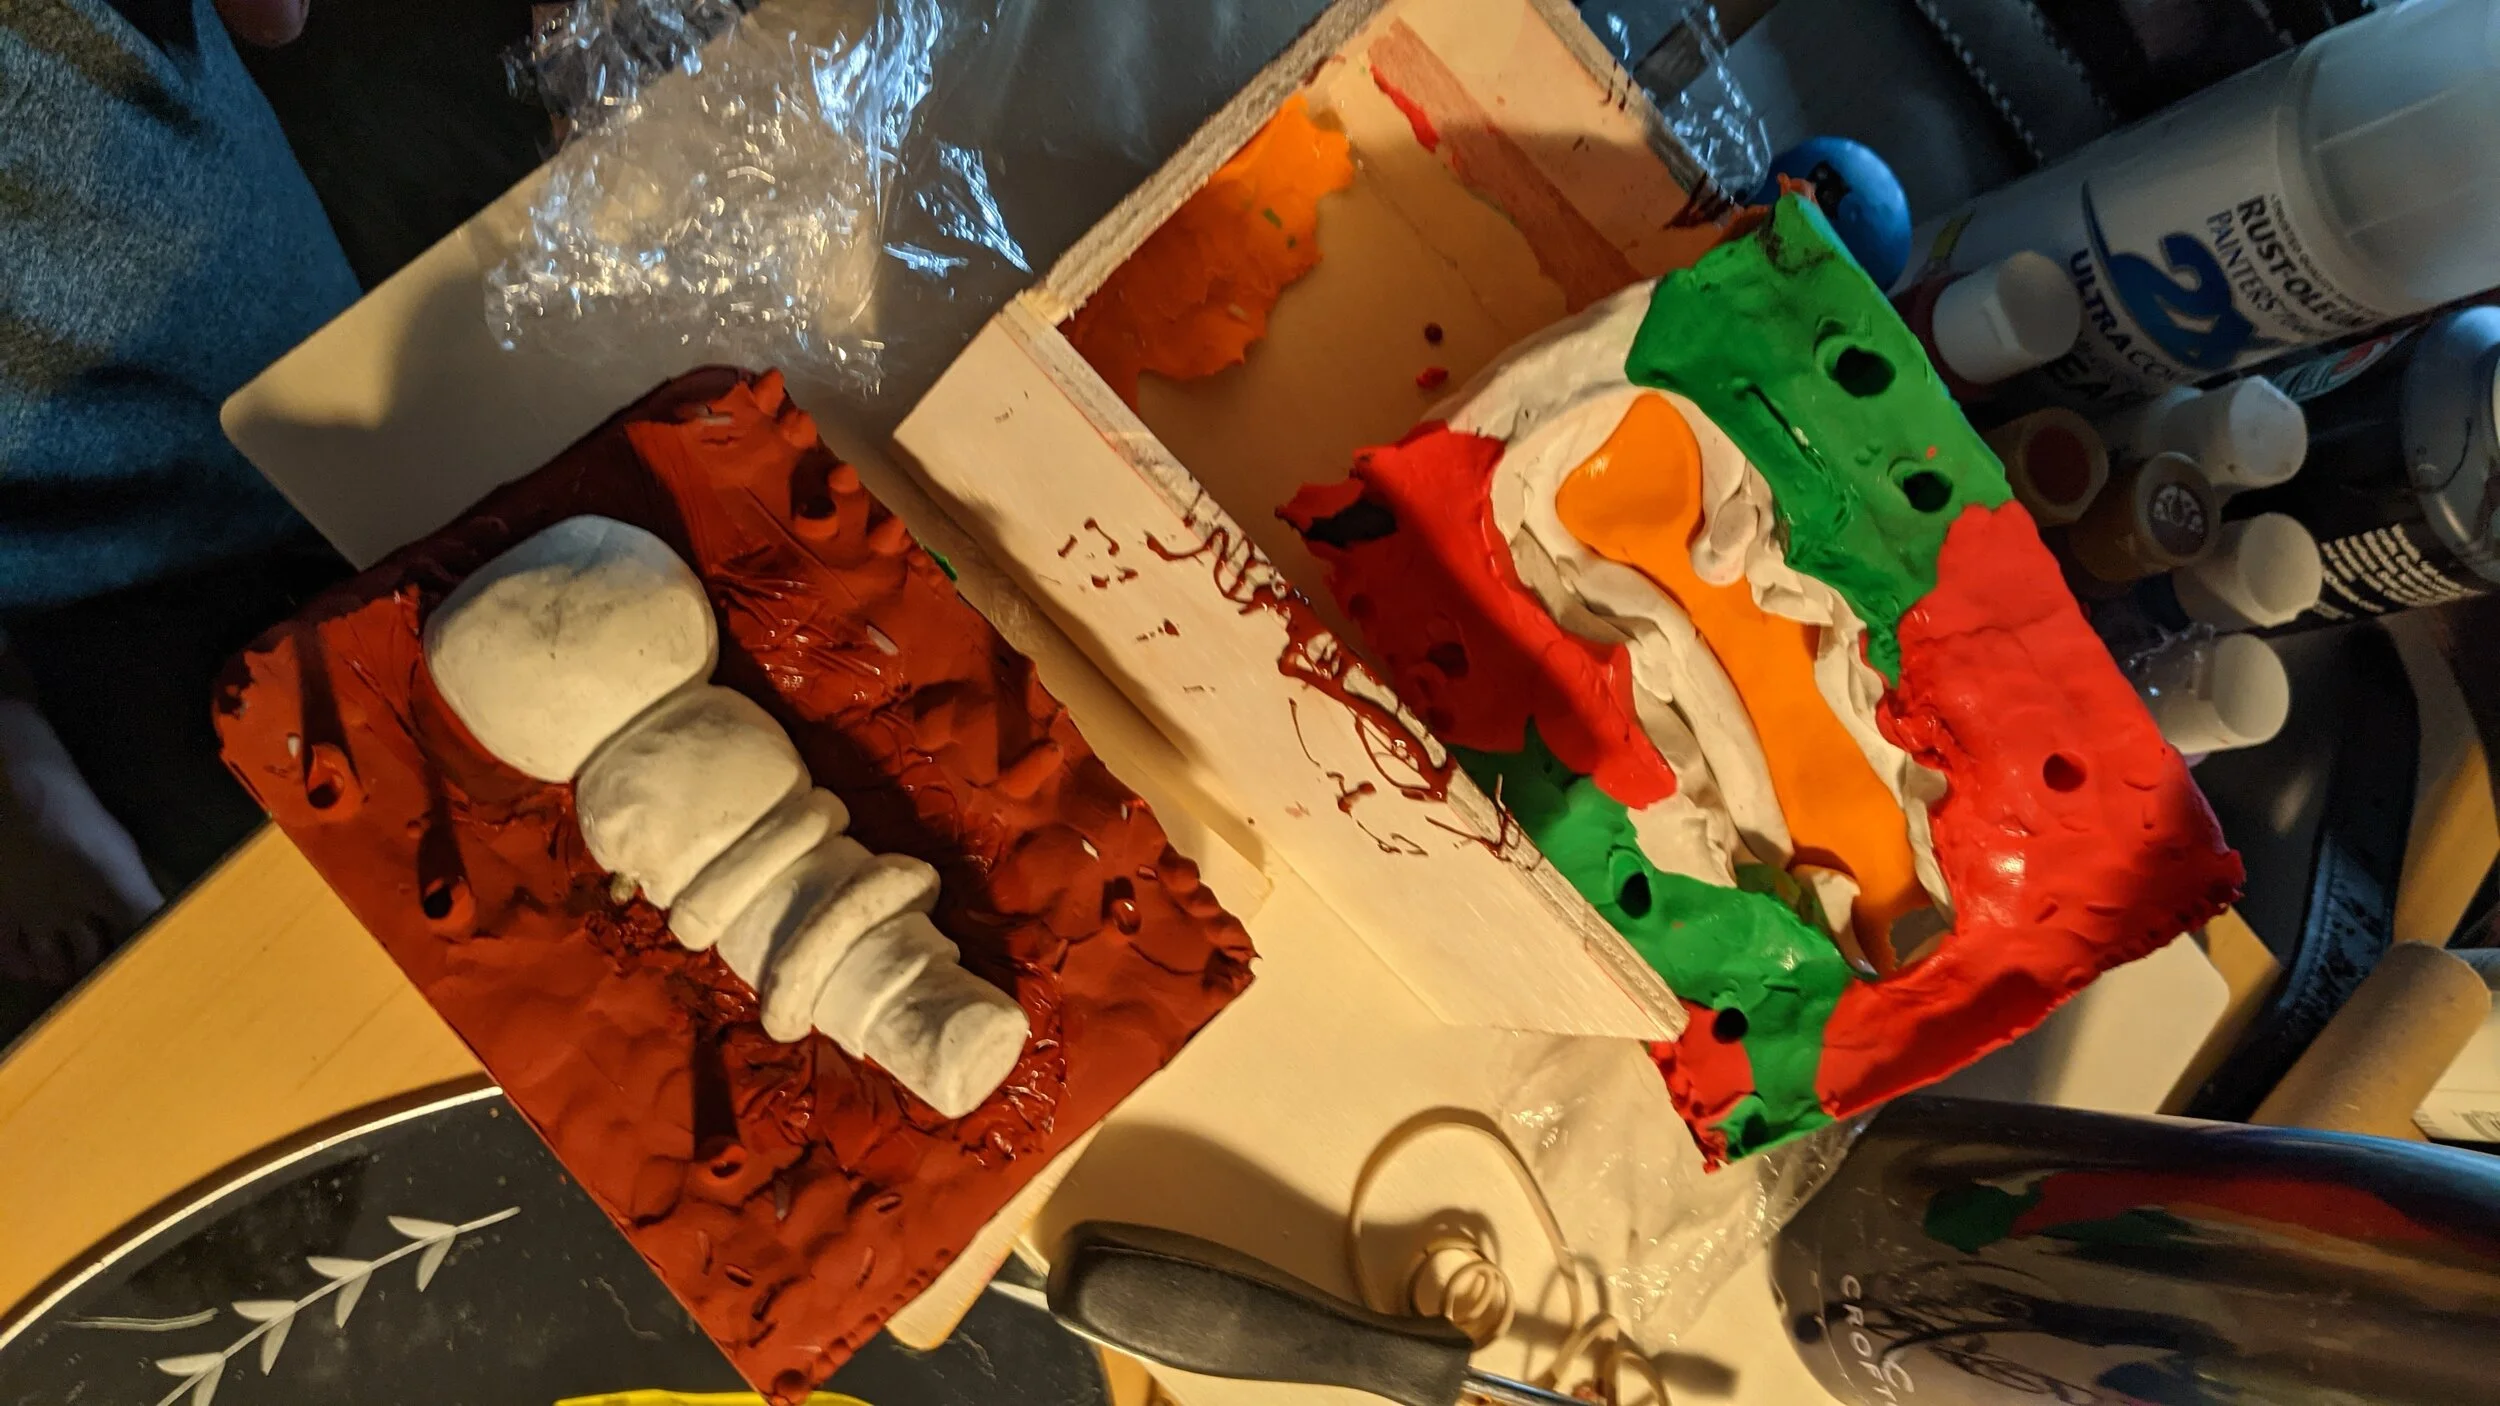
The Second Half
Also a very thin mold, but I successfully covered all parts of the original clay model.

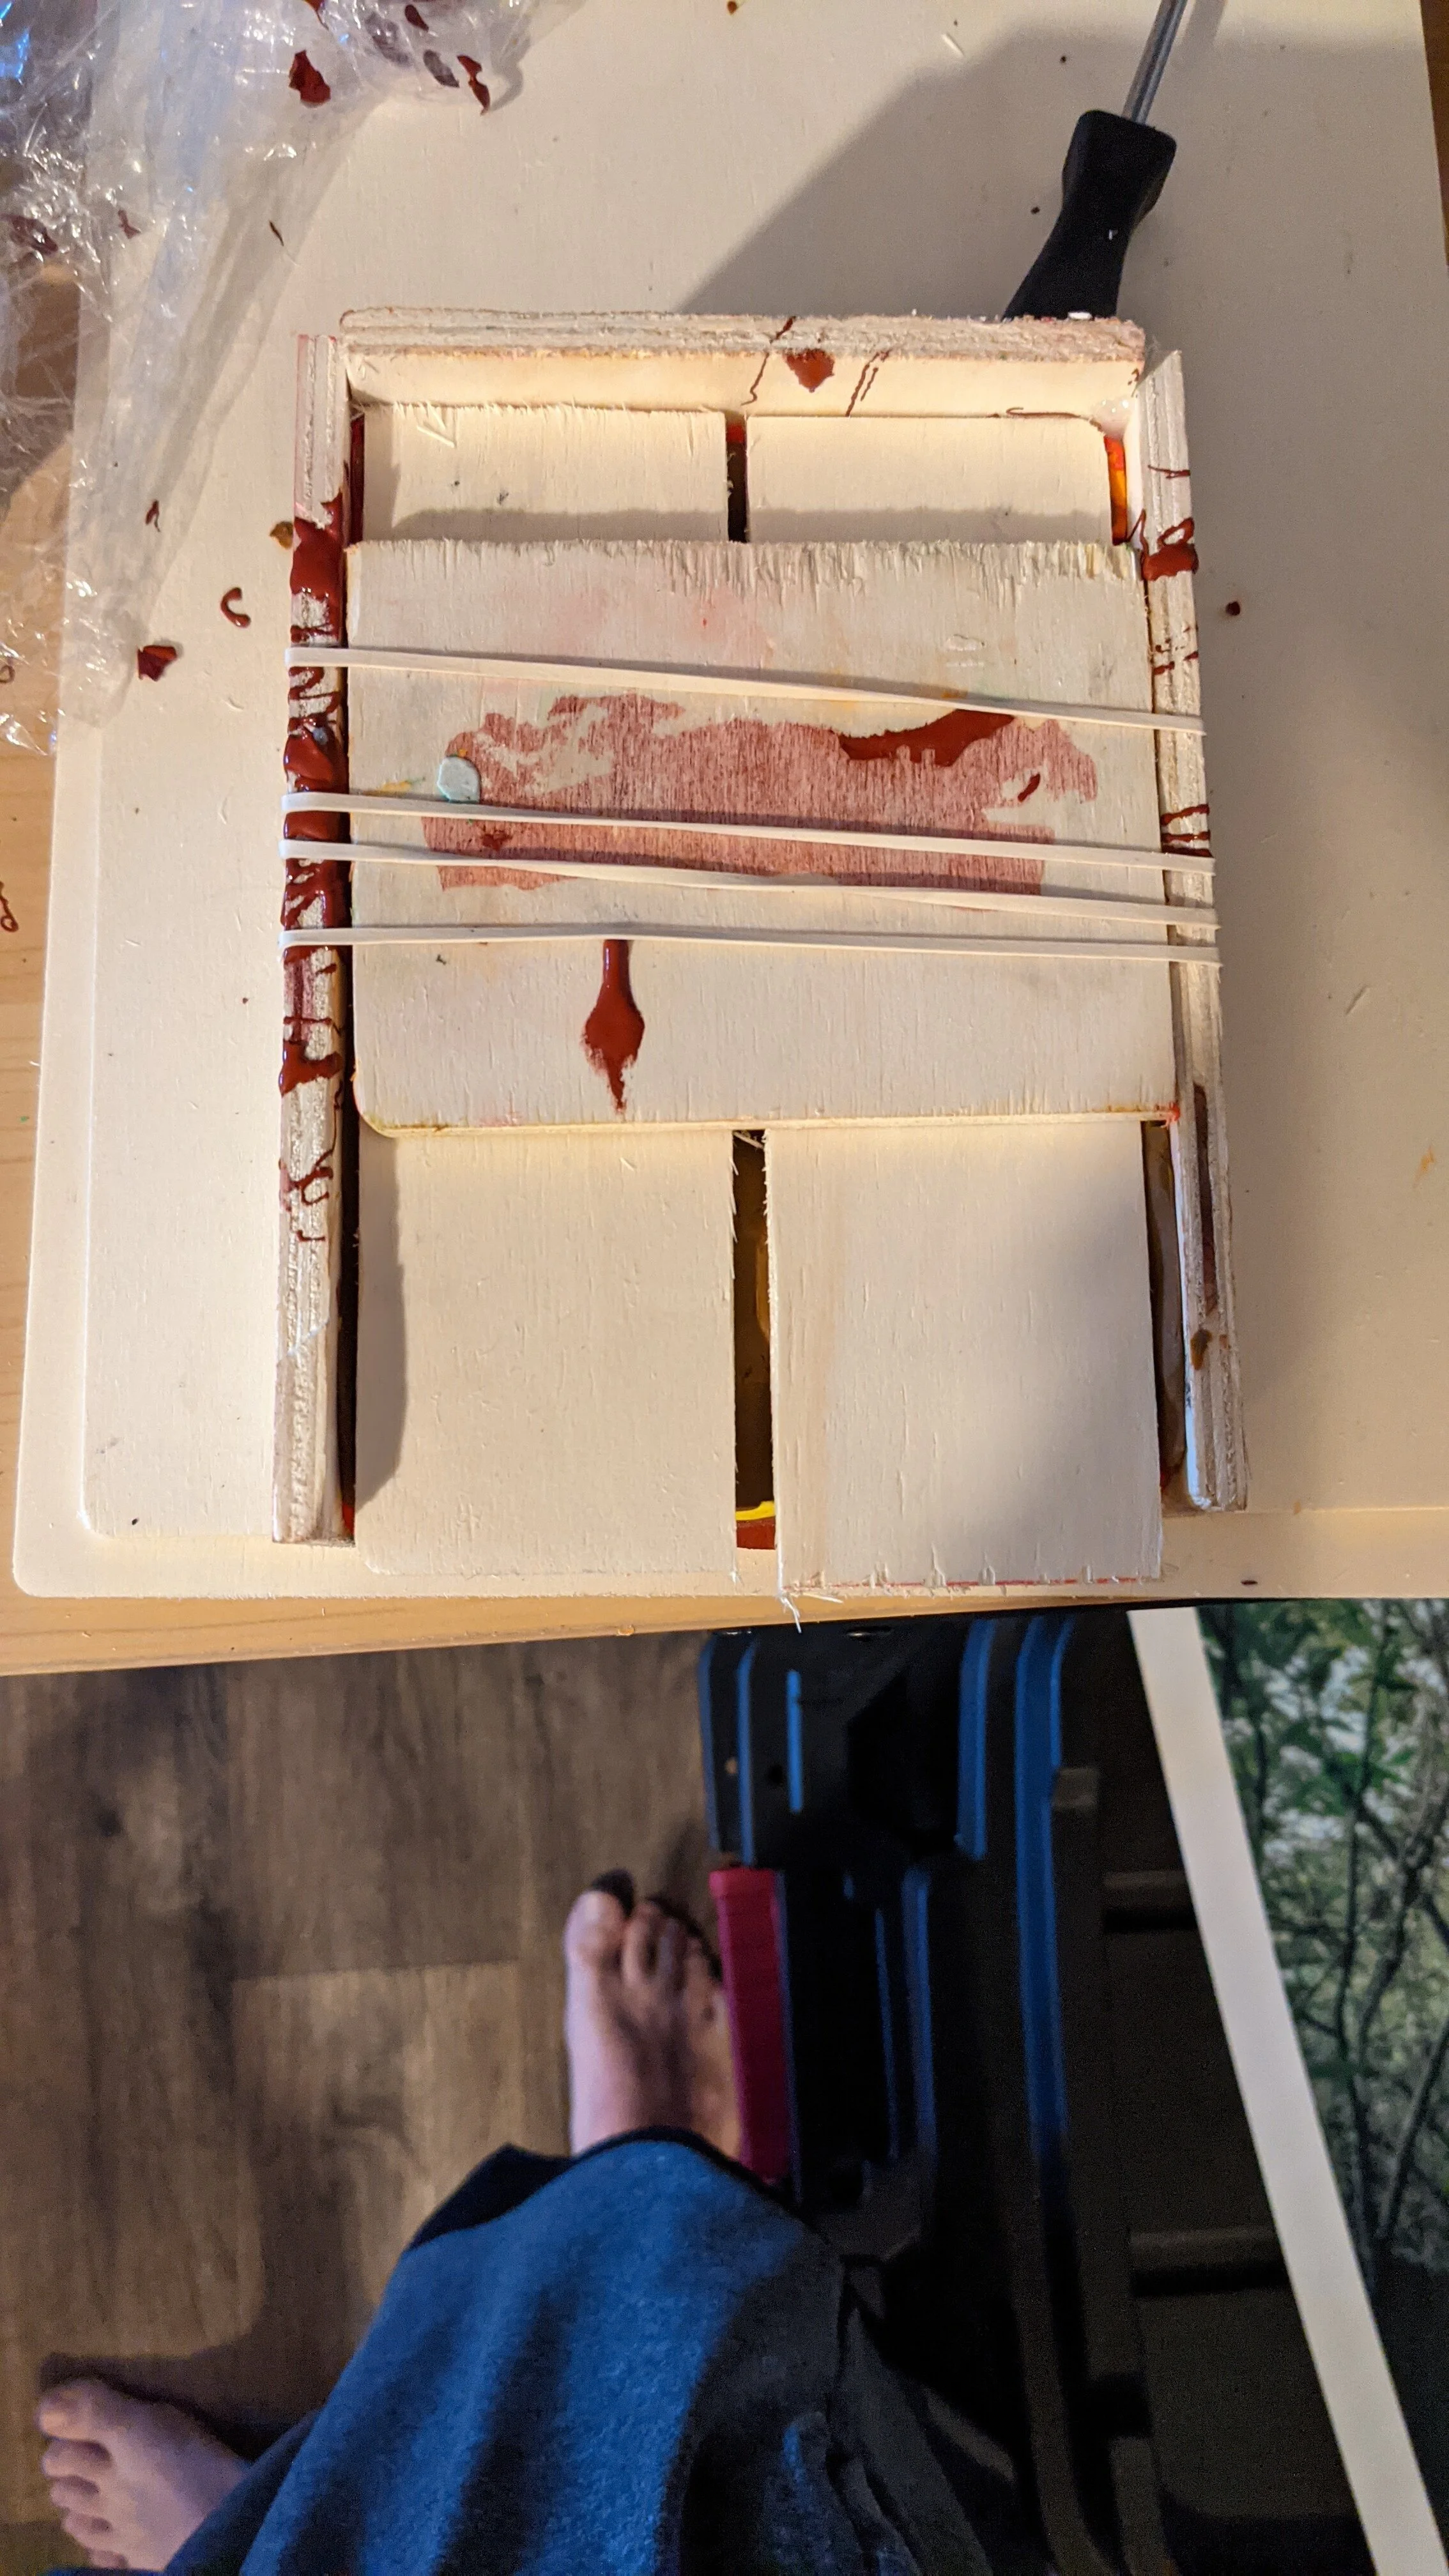
The Casting
My dad always said “If it’s stupid, but it works, then it’s not stupid”, this quote helped me do the rest of this project since I was starting in a somewhat improper way. Because my molds were thin I knew I had to cushion them so I wouldn’t burn my apartment down. I put a little over an inch of clay on either side of the mold and used rubber bands, a wire hanger, and some pliers to create this rig to start the casting. I also added in a ring of clay around the mouth so metal wouldn’t accidentally slip down the side.


The Melting
I went between my stove and mini grill to try and reach the temperature needed for the pewter to melt and it took a while. Eventually I just let it rest on the stove and mixed it up with a screwdriver until it was fully liquid.


Casting
I slowly poured in the molten metal and hit the side with a screwdriver to release any air bubbles. The result melted a lot of clay and made a mess, but it also created a successful cast.


Sanding and Grinding
I spent a lot of days trying to clean up this piece. I knew with my less than deal casting situation I was going to have to spend a lot of time cleaning. I used sandpaper for a while and a drill bit to clean out some spots, I then uses a grinding brush at my dads house to clean up some, but it brushed parts I didn’t want it to. My teacher then gave me the brilliant idea to use a Dremel, which is how I put the final touches on everything and made it as smooth as possible.


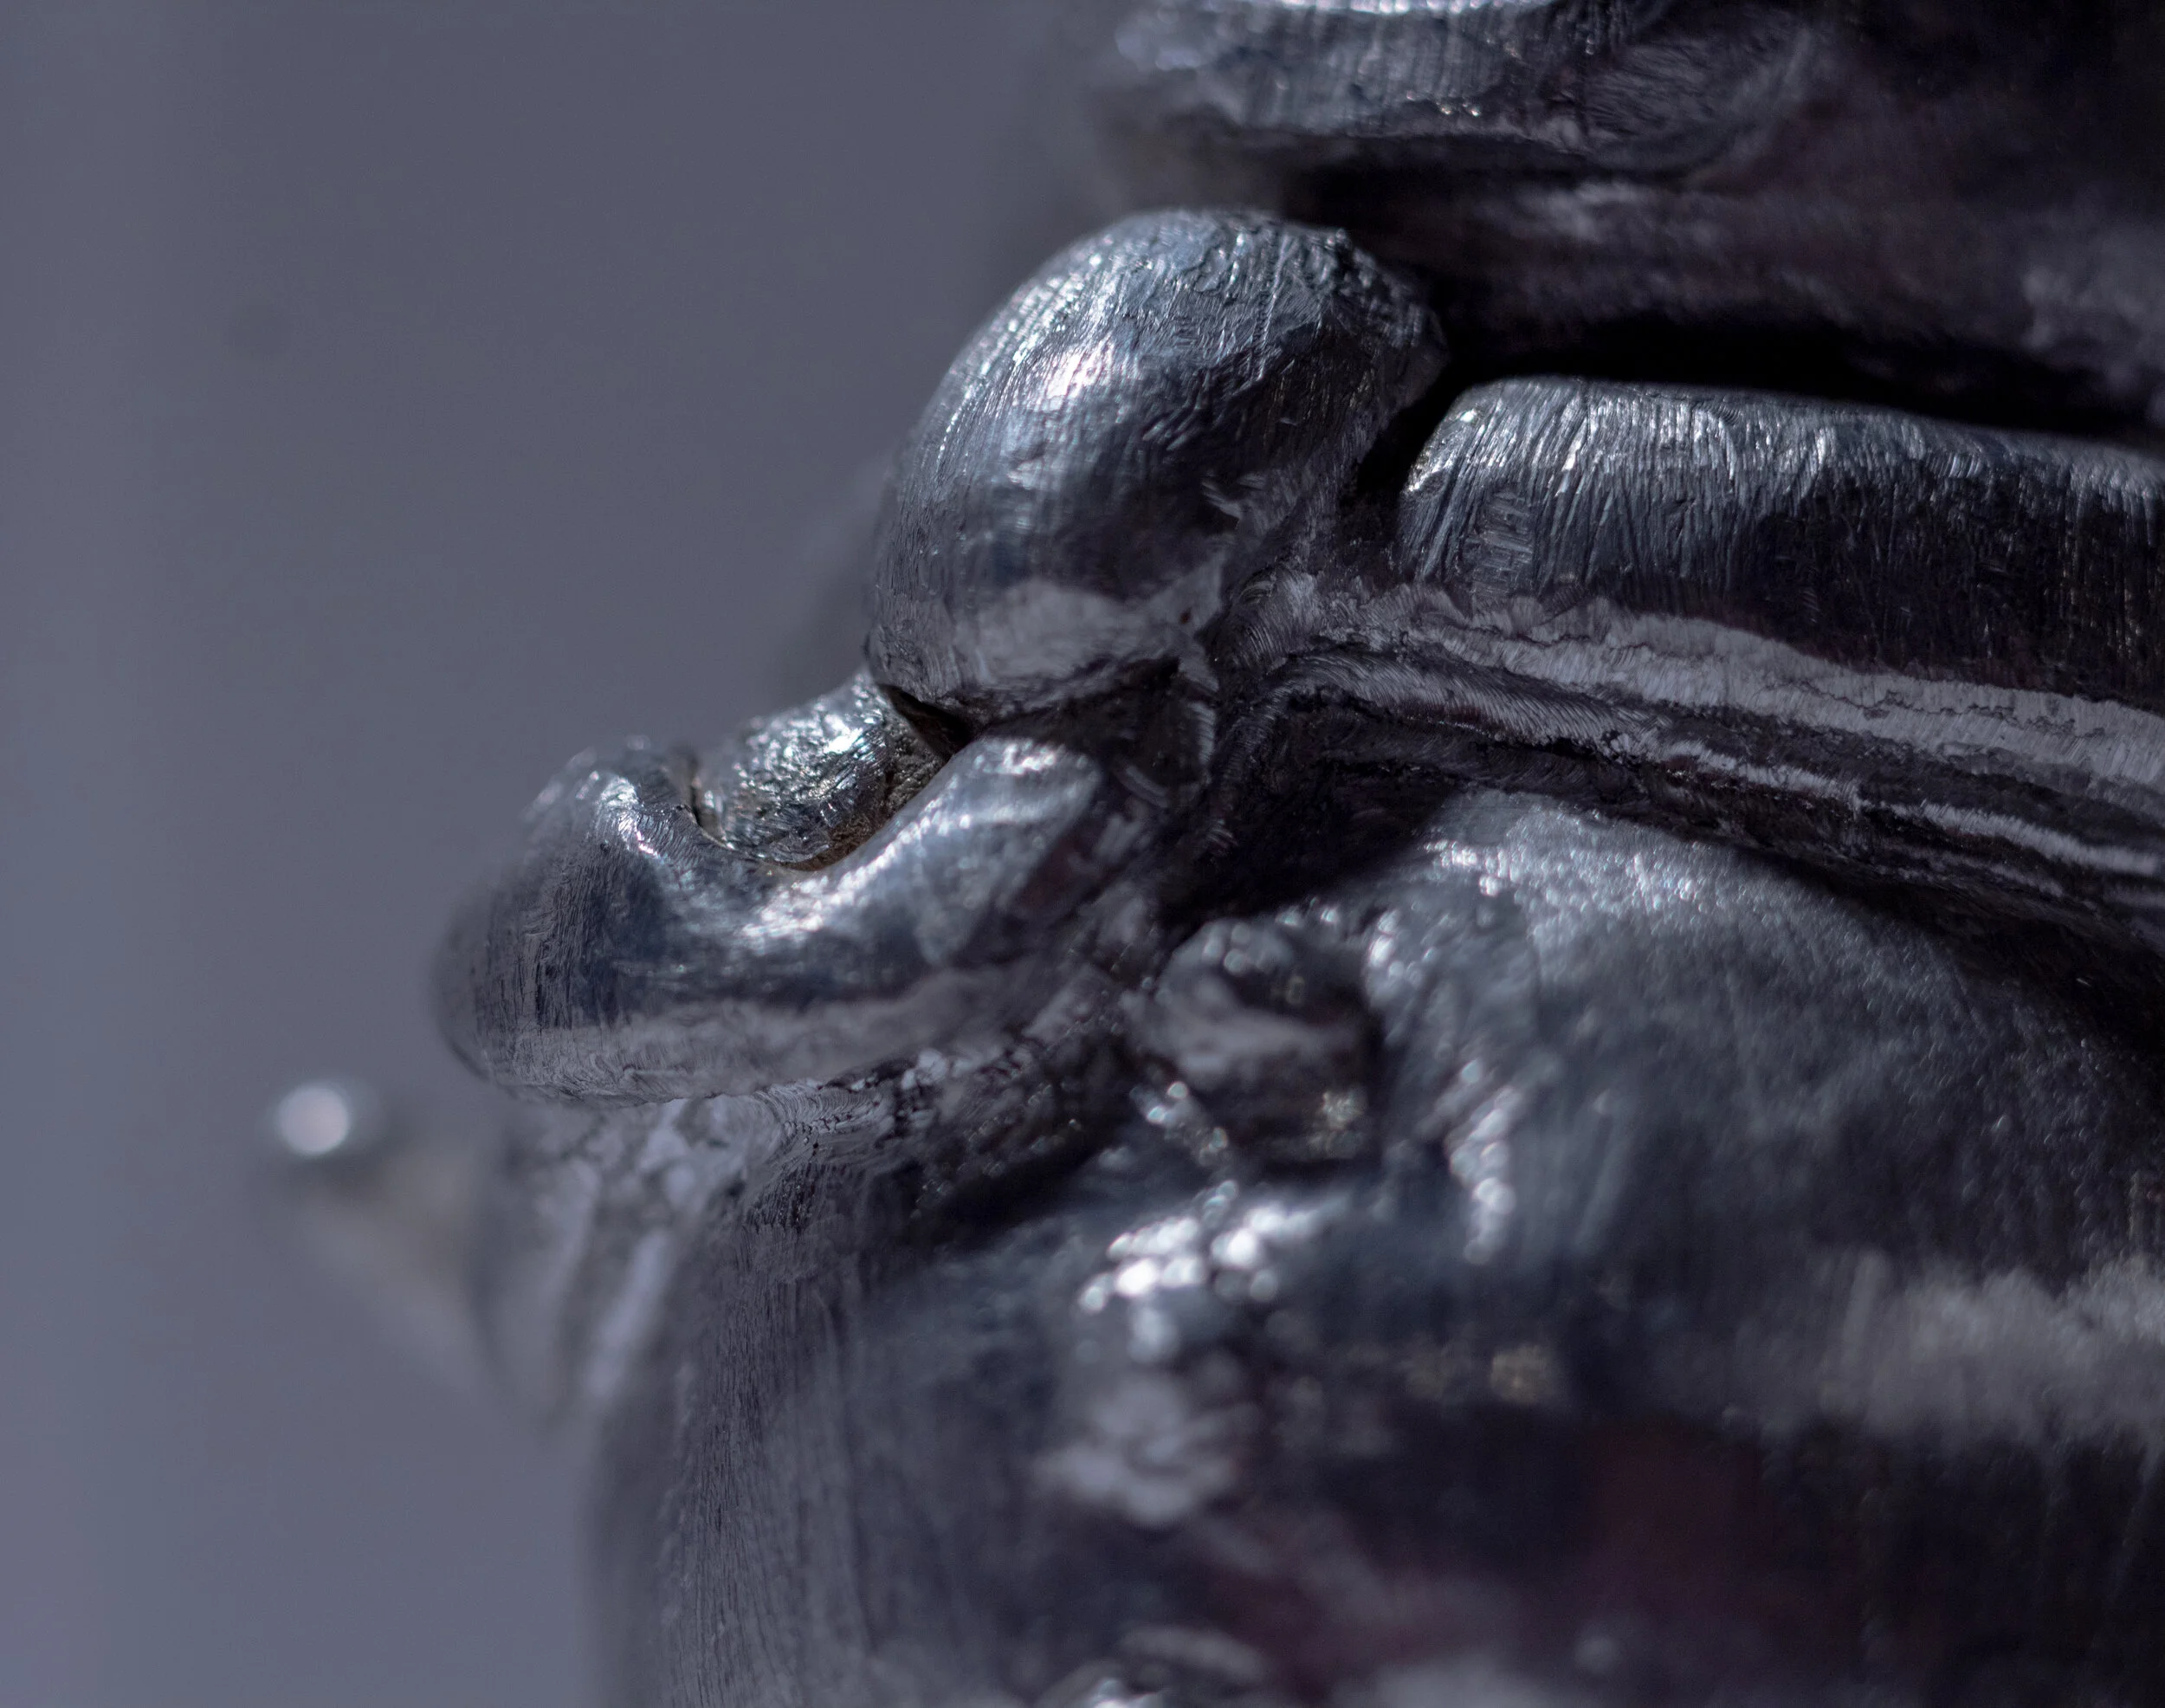
Final Product
I know the next time I do this I will either have to make a smaller box, a smaller figure, or possibly just buy more mold mix. I am happy with how he turned out, although I wish I could get parts a little more smooth, it still looks great in your hand and it is now a Christmas decoration that I gave to my Fiancé as a gift.